DBeaver
DBeaver is a SQL client software application and a database administration tool, which offers a helpful assistant that walks you through the process of connecting to a database.
Prerequisites
Make sure that you have installed DBeaver.
You can download the DBeaver Community edition at https://dbeaver.io or the DBeaver PRO edition at https://dbeaver.com.
Integration
Follow these steps to connect to a database:
-
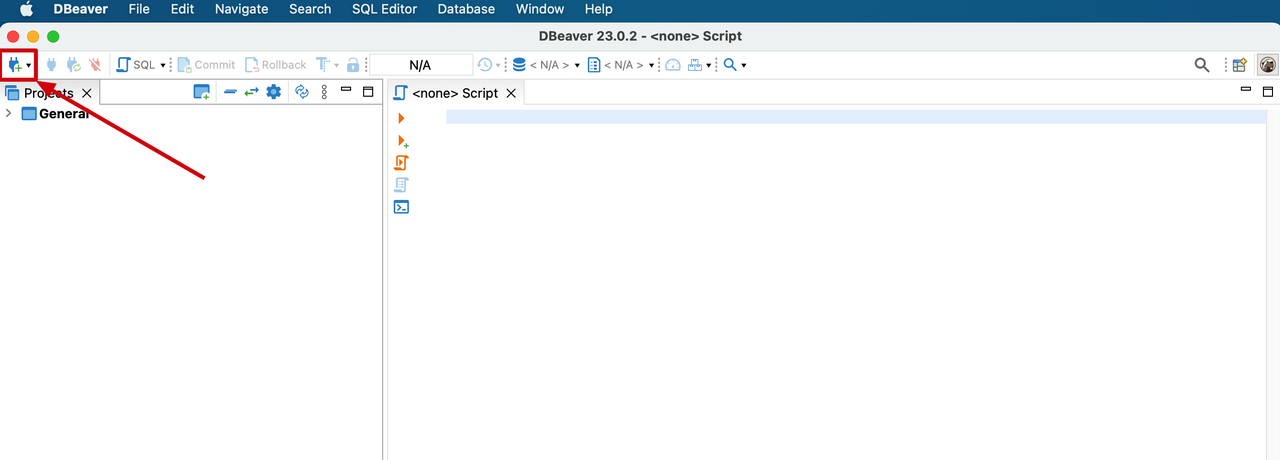
Launch DBeaver.
-
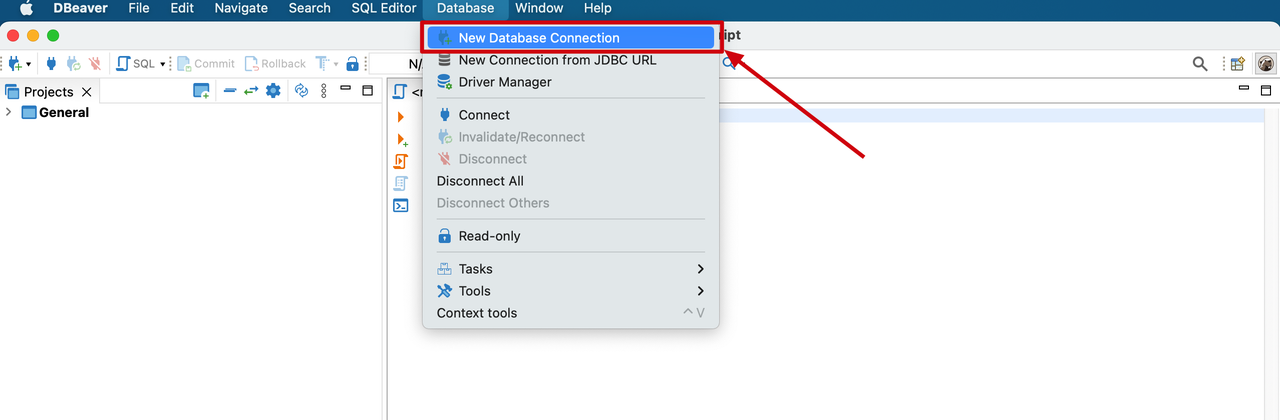
Click the plus sign (+) icon in the upper-left corner of the DBeaver window or choose Database > New Database Connection in the menu bar to access the assistant.
-
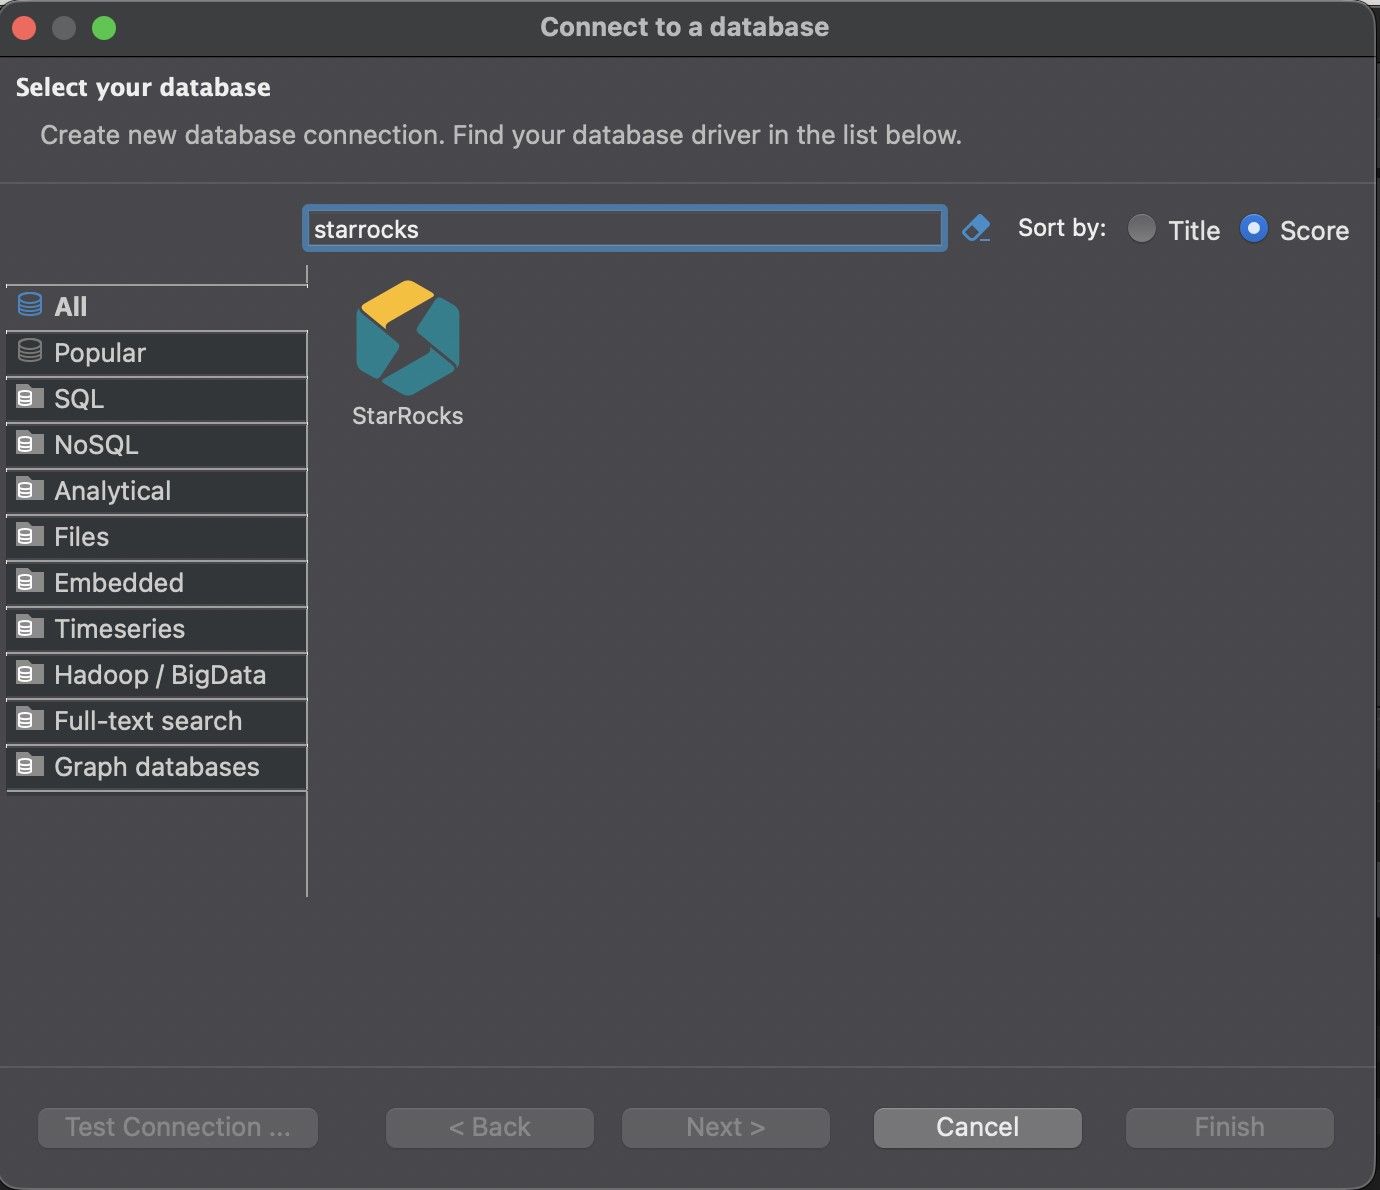
Select the StarRocks driver.
In the Select your database step, you are presented with a list of available drivers. Search for StarRocks in the search bar, or click Analytical in the left-side pane to locate it. Then, double-click the StarRocks icon.
noteIf your version of DBeaver does not include the StarRocks driver, you can use the MySQL driver as a fallback.
-
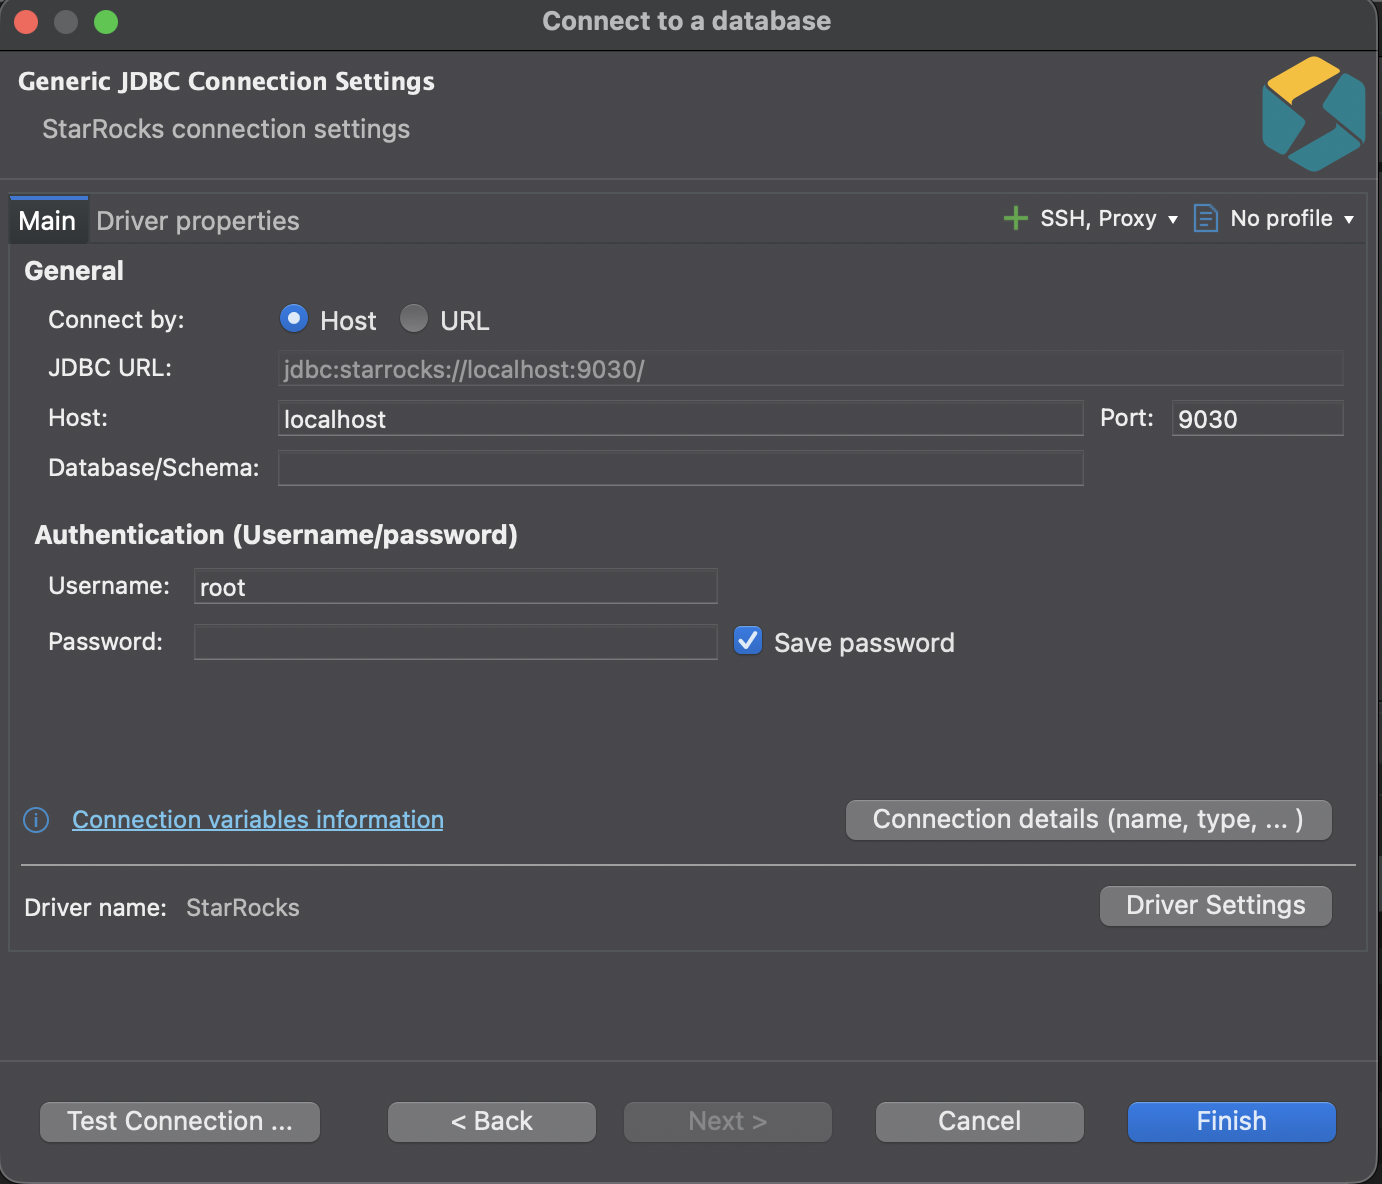
Configure the connection to the database.
In the Connection Settings step, go to the Main tab and configure the following essential connection settings:
- Host: the FE host IP address of your StarRocks cluster.
- Port: the FE query port of your StarRocks cluster, for example,
9030. - Database/Schema: the target database in your StarRocks cluster.
- Username: the username that is used to log in to your StarRocks cluster, for example,
admin. - Password: the password that is used to log in to your StarRocks cluster.
noteStarting with DBeaver 26.0.5, multi-catalog browsing is supported when using the StarRocks driver, allowing you to explore all catalogs in your cluster without specifying a database.
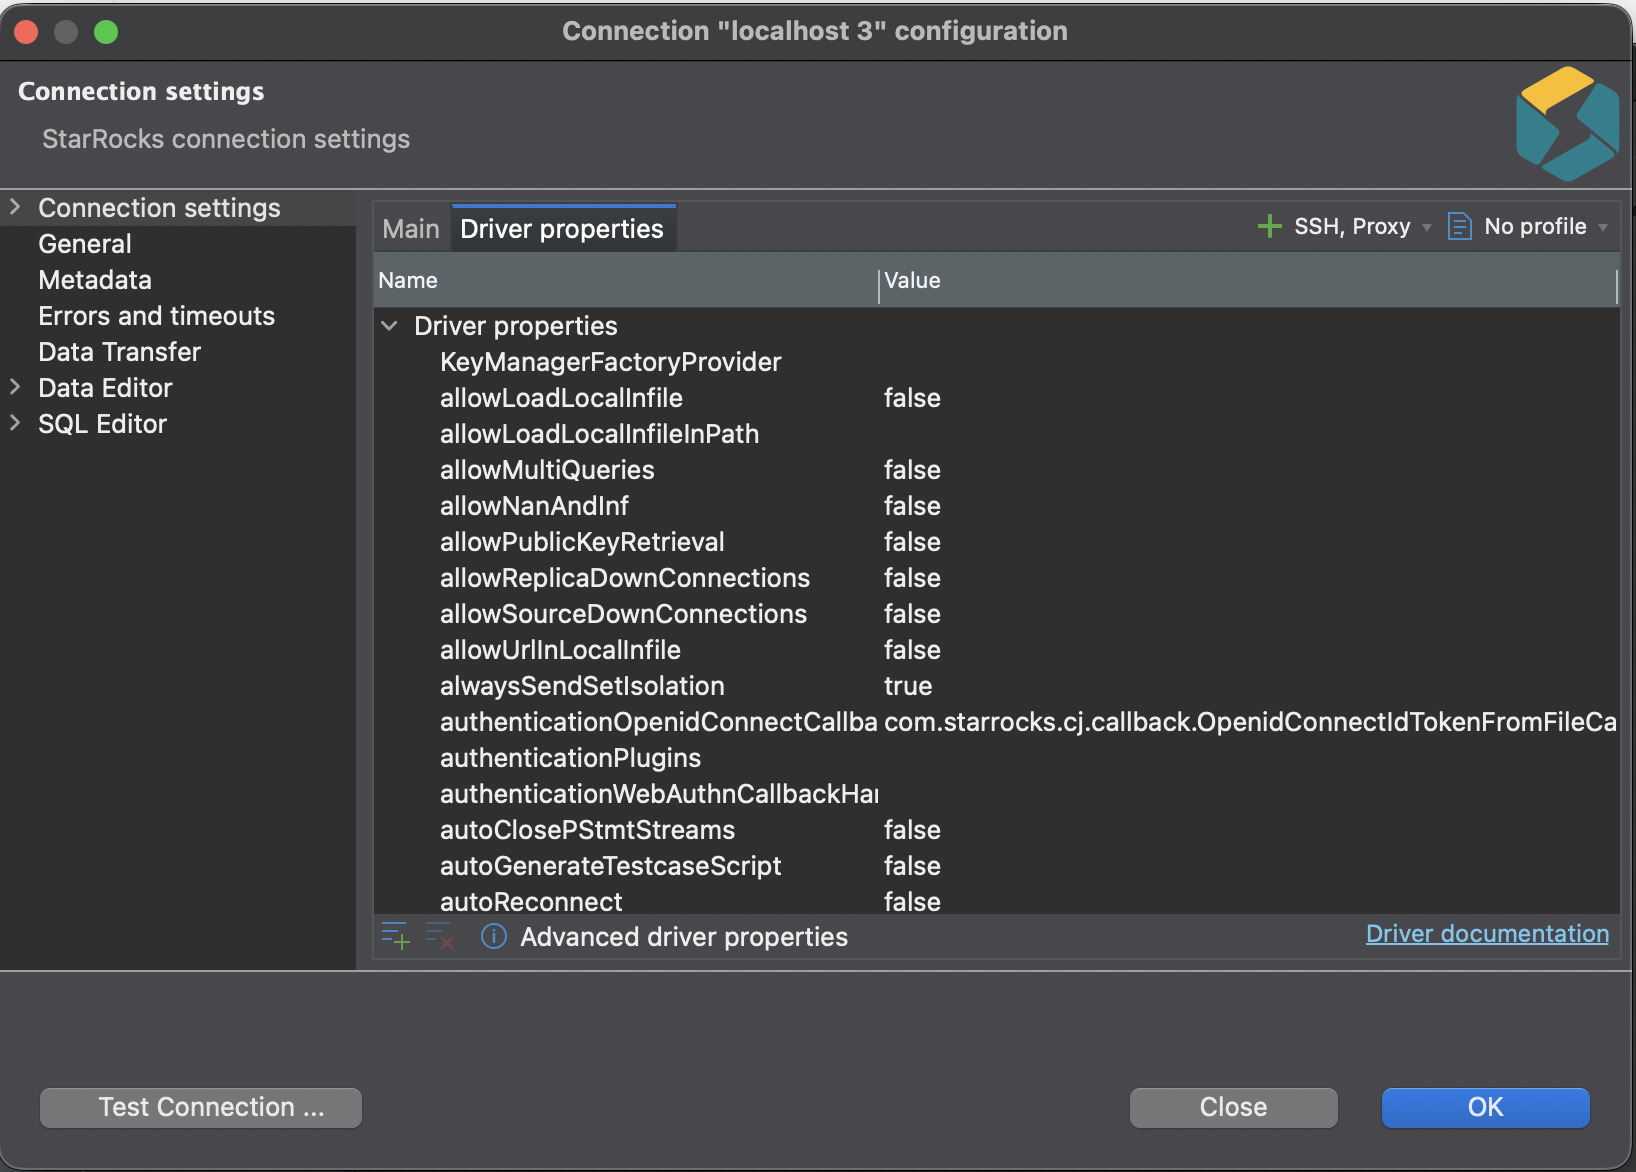
You can also view and edit the properties of the StarRocks driver on the Driver properties tab if necessary. To edit a specific property, click the row in the Value column for that property.
-
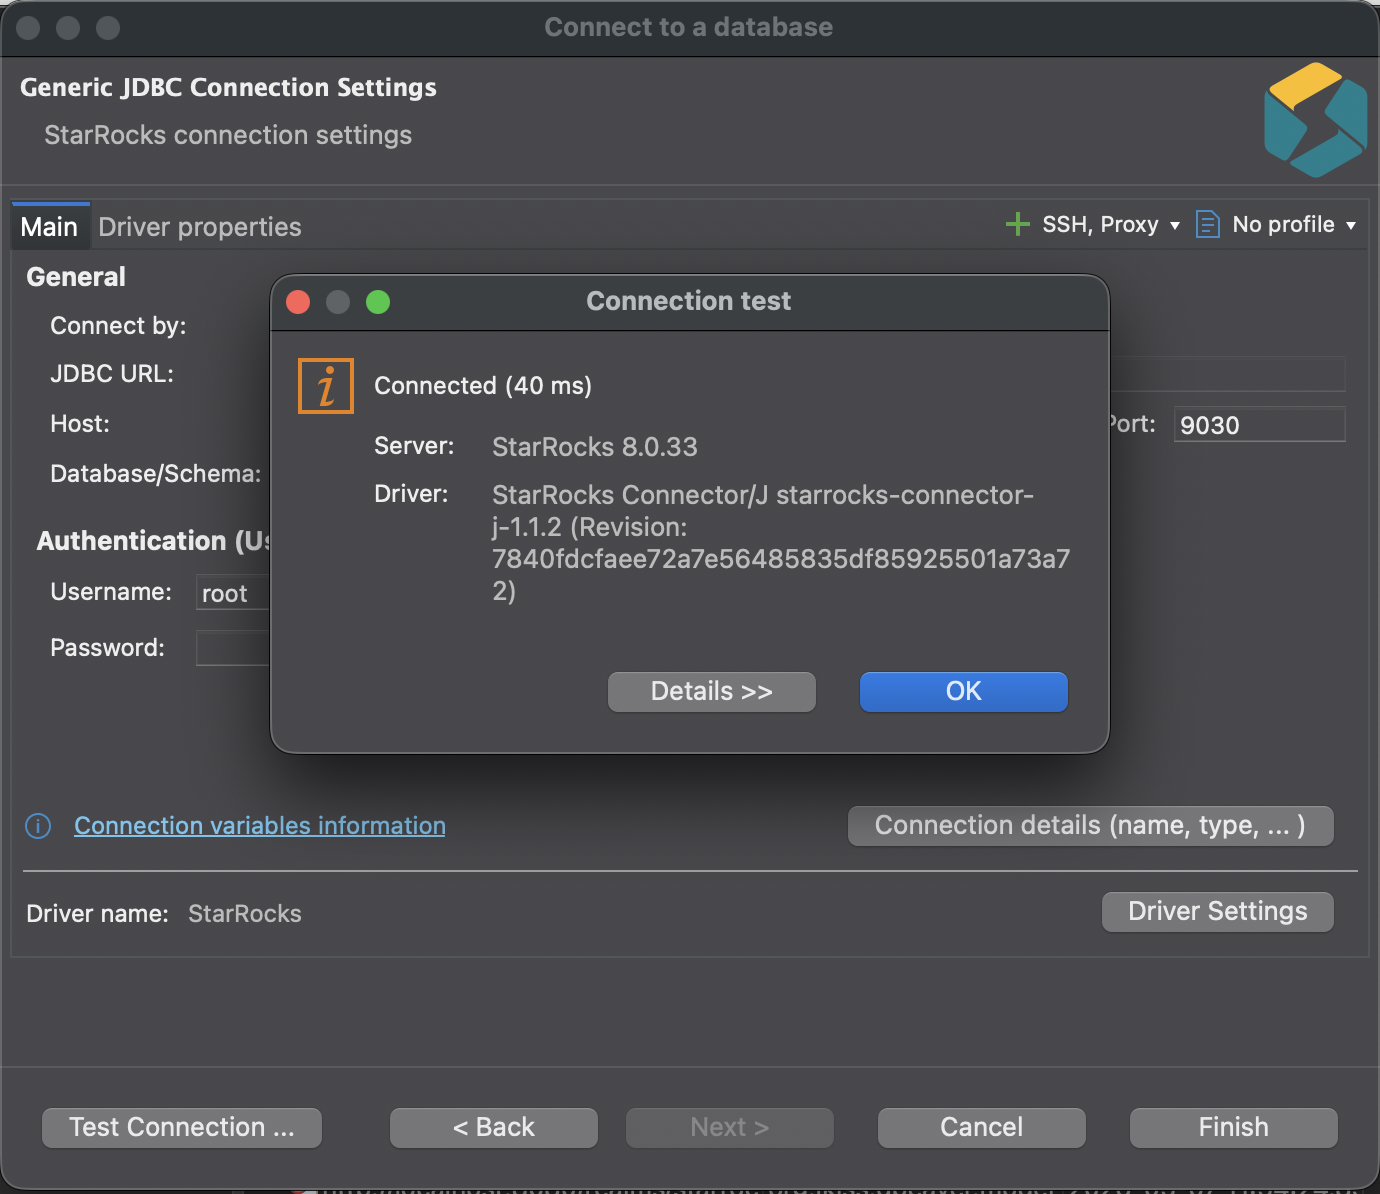
Test the connection to the database.
Click Test Connection to verify the accuracy of the connection settings. A dialog box displaying the StarRocks driver's information appears. Click OK in the dialog box to confirm the information. After you have successfully configured the connection settings, click Finish to complete the process.
-
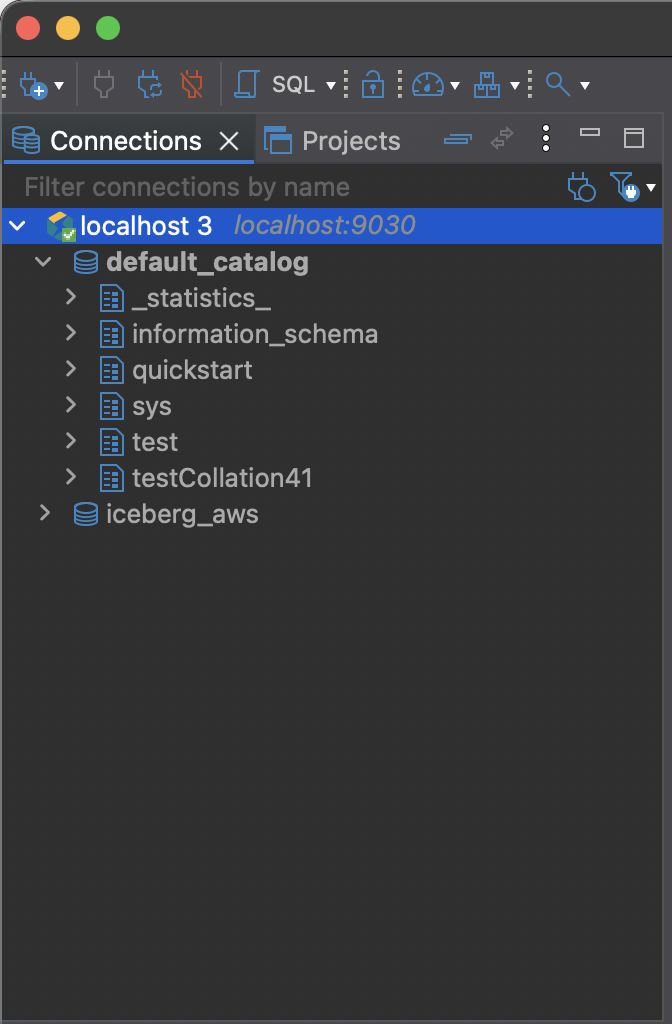
Connect to the database.
After the connection is established, you can view it in the left-side database connection tree and DBeaver can effectively connect to the database.